A Simple Colour / Texture Map Creator Using Processing
When I'm working in Houdini or other 3D software, I might need to use an image as a colour map texture which can then be applied to a model. Often times those colour maps need to be informed from a brand's colour palette. Having found myself needing such things on a regular basis with my commercial work, I decided to create a small program in Processing to generate a weighted colour map from a predefined colour palette.
Before I walk through how it works, here's the code:
final int BACKGROUND_COLOR = #efefef;
final int STEP = 100;
FloatDict palette;
int[] colors ;
PGraphics pg;

void setup(){
  size(1000,1000);
  colors= new int[(width/STEP)*(height/STEP)];
  populateGrid();
  pg = createGraphics(width,height);

}

void populateGrid(){

  palette = new FloatDict();
  palette.set("FFFFFF00",0.1);
  palette.set("FFFF00FF",0.9);
  palette.set("FF00FF00",0.5);
  int index = 0;
  while(index < colors.length){
    String[] theKeys = palette.keyArray();
    for (int k = 0; k < theKeys.length; k++){
      String theKey = theKeys[k];
      float val = palette.get(theKey);
      if (random(1.0) < val ){
        int col = unhex(theKey);
        colors[index%colors.length] = col;
        index++;
      }
    }
  }

}

void draw(){
  background(BACKGROUND_COLOR);

  pg.beginDraw();
  pg.clear();
  pg.noStroke();

  int col;
  int index = 0;

  for (int i=0; i < width/STEP; i++){
    for(int j=0; j < height/STEP; j++){
      col = colors[index];
      pg.fill(col);
      pg.rect(i*STEP,j*STEP,STEP,STEP);
      index++;
    }
  }

  pg.endDraw();
  image(pg,0,0,width,height);
  //filter(BLUR,10);

}

void keyReleased() {
  if (key == 's') {
    save("colormap.png");
  }
}
After defining a background color I set the resolution of the grid I want to make with the STEP constant. I find 100 is a good setting. If my image is 1000 x 1000 pixels then this will give me a 10 x 10 grid.
The main part of the program is the populateGrid() method. In here I init a new palette variable, which is of type FloatDict. This allows me to populate the dictionary with as many or as little colour values as I may need, together with a key, which acts as a weight for that colour. The value goes from 0 to 1.0 — the higher the value the greater chance that colour will be included in the grid. I then go through each square in the grid and if a random value between 0 and 1.0 is less than the key value then the colour gets added. Using this system creates a nice random grid of colours, but using a weighted influence.
In the draw() method I work through these colours and draw them into a Pgraphics object. I do this so later on if I want to blur the grid, I can do that easily.
Pressing the 's' key will save the created map as a png, ready to be loaded as a texture map in whatever software you might be using.
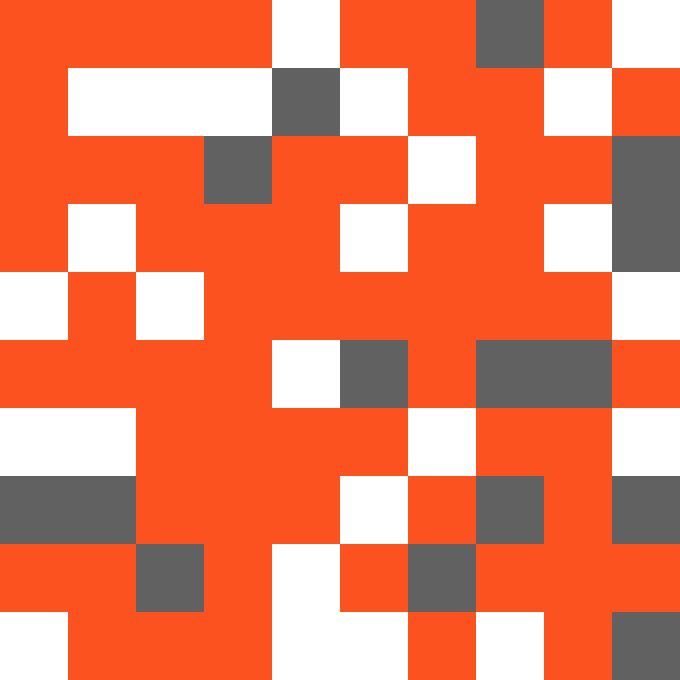
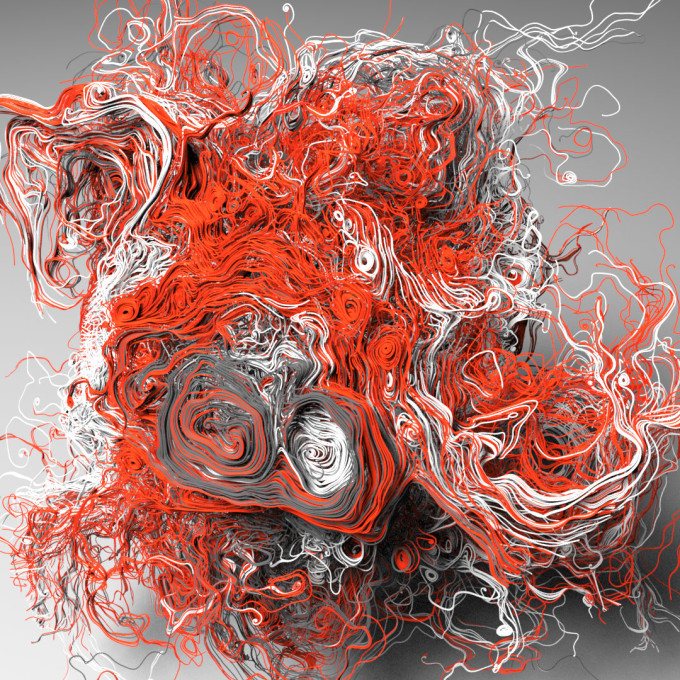
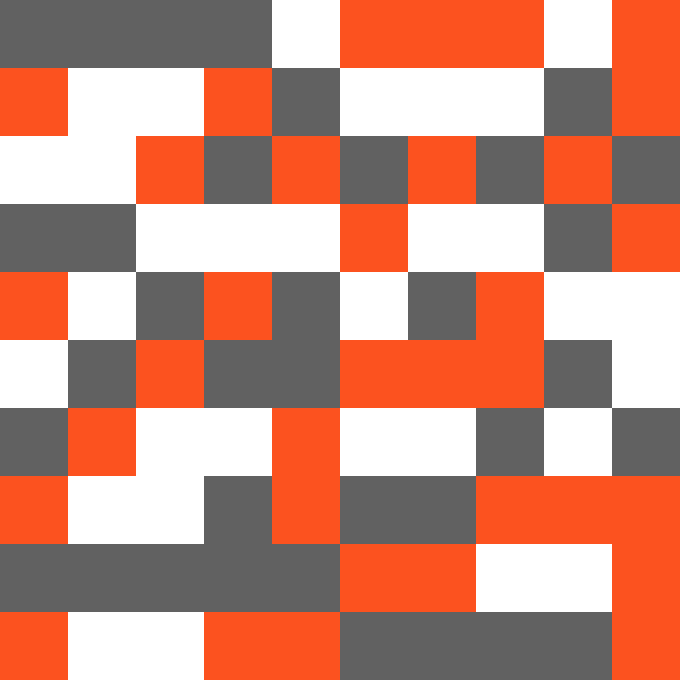
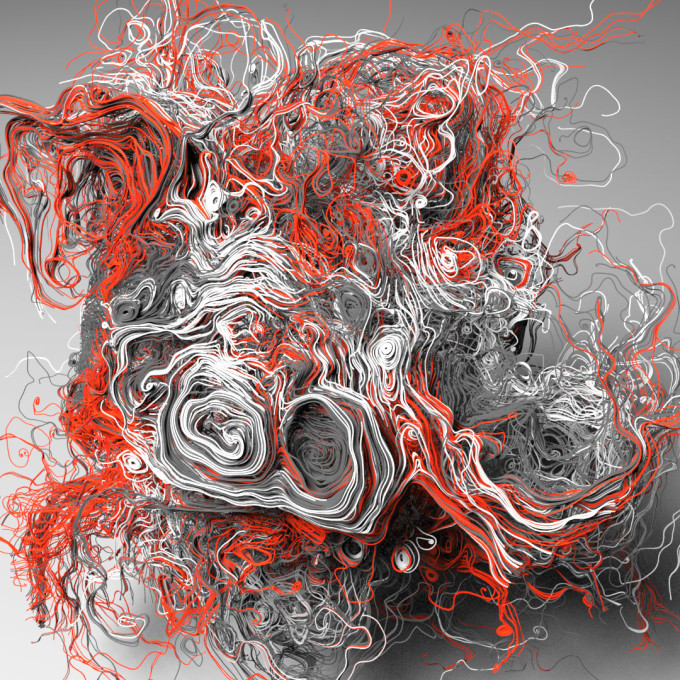
Now I have my colour map generator. Below is an example showing the differences in the map using some vector flows in Houdini. The first image is weighted more towards the red colour, whilst the second image has an even distribution of the colours.
With this simple system I can tweak the distribution of colours to taste — especially handy when a client says "can we make it more pink?"