Make it Shine: Rendering 3D Objects Made in Processing

For a few years now I've been creating physical objects from data — using Processing to essentially terraform an object such as a sphere, and then have that 3D printed either on my own Makerbot or using something a little more high-end for full-colour prints.
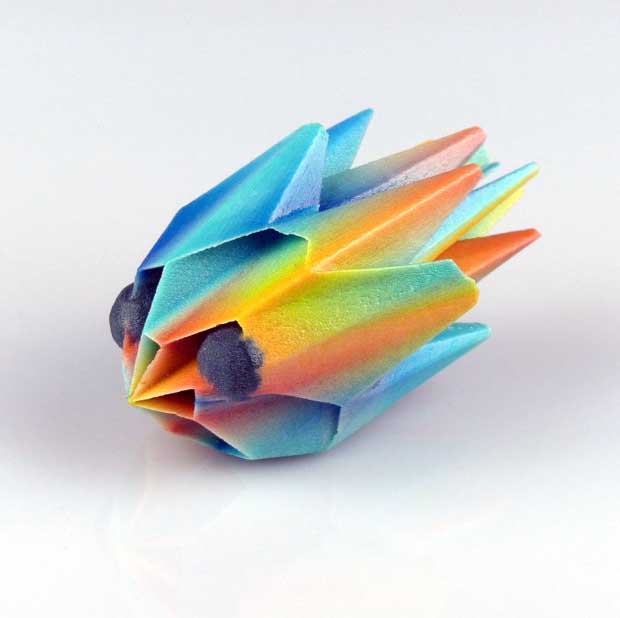
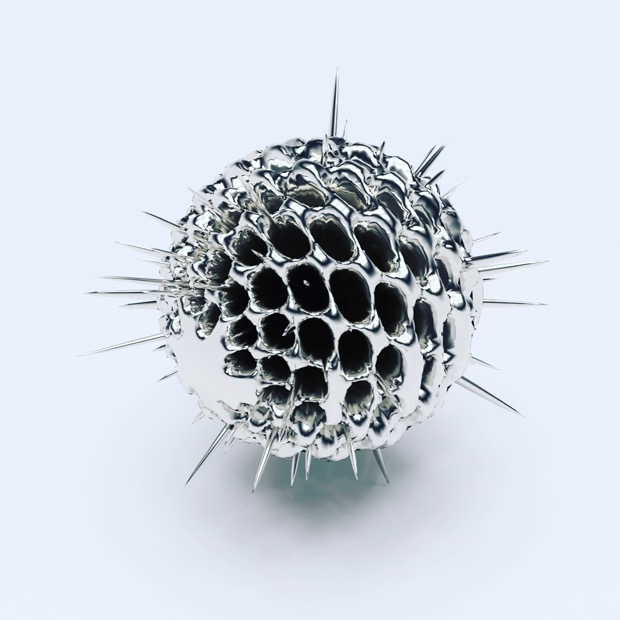
Most recently I've also taken these same objects and brought them into other software packages to create photo realistic versions, using all kinds of material properties such as glass, metal or wood. When I posted these on Instagram I began to get people asking me how I'm getting this kind of render quality from something made in Processing. So with that in mind I thought I'd detail how I go about creating and rendering these objects. There's nothing amazing going on here, but I get asked about it a lot so here it is.
Creating an exportable 3D object

The first thing to do is create an object in Processing that can be exported as either an STL or an OBJ. There are a couple of libraries which allow you to build 3D forms and export them in these formats but for me the best is HE_Mesh by Frederik Vanhoutte. There's some crazy things you can do with this library, beyond the scope of this article, but download it, play with it and create a form that you want to export as an STL. An STL doesn't contain any texture information but we'll come back to how you can export that in a moment.
To export a mesh as an STL you would write
  mesh.triangulate();
  HET_Export.saveToSTL(mesh,sketchPath(),"mymesh");
Were mesh is the reference to your HE_Mesh object.

Make it Shiny
At this point you can open the file with Meshlab and you should see your Processing created form as a 3D object. But that's not where we're going to have all the rendering fun. Instead we have a few options. Firstly lets look at using the wonderful Fusion 360 from Autodesk.
Fusion 360 is an amazing piece of software, used in industrial design to create all manner of things. As part of that process it includes a really great rendering engine and it's that that we're going to use. Yes we could use Maya or Blender but for me all I want is a rendering engine, not all the bells and whistles of manipulating meshes and the like (though 360 can do that too).
If you don't have Fusion 360 you can download a free trial version. Once in Fusion create a new project and upload your STL file. There's a lot you can do with that mesh in Fusion but we're not concerned with that right now. Instead we're just going to go to the render section of Fusion 360. You should see your STL model start to be rendered. But this won't give you really great raycasted rendering. Before we get to that let's alter the environment. Click on the anglepoise light icon in the toolbar to open the scene settings window. From there choose the environment tab to change the lighting and other settings. I like the skylight setting as it gives a nice natural light.
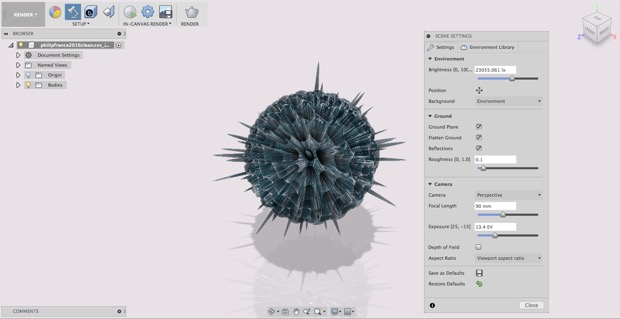
Next click the Appearance icon in the toolbar and choose a material. Try the glass materials. Try some of the wood textures, or the metal ones. Add some depth of field too. Play with composition. Do you want to show the full object or some interesting close-up? Just play with this stuff to get used to it and the different renders you can produce.
At this point you can click the In-canvas render button, though I find it's better to choose the main render button — the teapot icon. Here you can use the power of the cloud to render your creation remotely, as large as you want. When it's done it will appear in the gallery viewer at the bottom of the render window, and then you can export your final image out.
Textures

At the time of writing Fusion 360 won't let you import an MTL texture file that can be exported alongside an OBJ. HE_Mesh lets you export OBJs (and PLYs) which have texture (colour) information. To render using these you can fire up Blender or Maya, think what the hell is going on here, or you can go a simpler, though more expensive route and use Keyshot. Keyshot is a tool made purely for rendering. It's expensive but it's good.
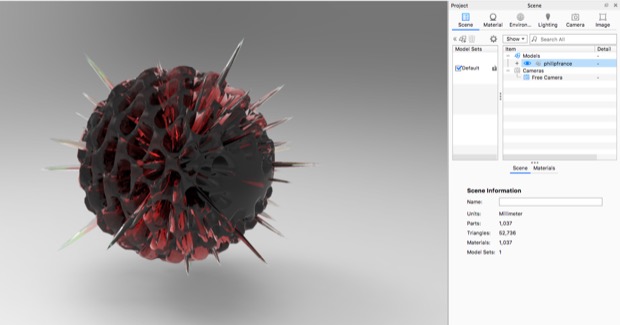
The nice thing about Keyshot is as well as rendering the colour information, you can choose to change the material type and keep the colour information. In the scene palette choose your model, then control-click to bring up a contextual menu. Choose materials and choose what type of material your model is made from. Pretty nice. Keyshot is actually rendering constantly but at any time you can choose to do a larger render to create your final image. You can download a 15 day trial version but it does put a watermark on any rendered output.
I've always found when using software it's the combinations that make things interesting. Don't think of these things as silos, but mash them together, mix them up, play with how these things might fit together.